With solid wood being even easier to display, engineered wood has become a popular decision for some homes. Engineered wood is an incredible decision in all areas of the house because it gives a corresponding convincing feeling and an undeniably familiar appearance.
Because wood flooring is made in layers, it is very strong, which means it does not shrink or warp as much as strong wood appears to be due to changing environmental conditions. Thanks to this strength, it is conceivable to use snap frames at the joints, so it is optimal for anyone who is looking for a real wooden floor and knows how to show. We continue with the wooden floor installation guide, so it is really easy to install.
Technical wood has a cut top of normal wood, the cover uses a photo layer covered with a protective layer. Additionally, veneer is much thinner than engineered wood, averaging about 12mm, while engineered wood is typically thicker than hardwood.
Laminate flooring is basically a rigid engineered floor, otherwise known as composite, perg or driftwood. It is made of several layers of compacted materials.
What about its strength and maintenance cost?
- Engineered floors do not expand or deform due to climatic conditions.
- Support costs are low.
- Engineered wood floors can be used anywhere. Whether it is above ground, underground or even above ground.
- Technical floors can be used on any subfloor, such as ceramic tiles or vinyl floors.
- They must be firmly attached to the floor beneath them and be clean and dry.
- Engineered wood floors can be presented in three different ways. They can be attached, nailed or stapled to the subfloor.
- Engineered wood floors are more affordable compared to other types of flooring.
- Engineered hardwood floors are much easier to come by and some homeowners make the floors themselves.
- Engineered wood floors require minimal support to keep them spotless; many people tend to make this decision in the kitchen as well.
- Climatic conditions do not affect effectively constructed wood. You won’t see your floors warp because they won’t shrink or expand due to wet conditions. Also, make sure you know the wood flooring manufacturers as this will ensure you are buying the right type.
Planned tree thoughts - What is best?
Engineered Wood is not a delicate quality for a floor, but it is not as cumbersome as the tile underneath. Renewed steps during the day can cause pain, so limit the impact and the opposite impact on the body with comfort zone mats. Carpets layered over wood floors create spaciousness in living rooms and sofas and additional seating for a large meeting room.
Style options
Wooden floors are suitable for a conventional interior, but it is appreciated with modern sleek components. Keep the show going with modern office solutions, streamlined fixtures and lighting in a space that needs decorations and embraces clean lines.
Mix Don't Match
Ignore ideas that require coordinating wood tones. The avant-garde compositional approach deliberately mixes the unwelcoming and rustic landscape with repainted and cleaned spots and grain to create a clustered look after some time. A cantilevered end table is perfect against raw wood accents or dark engineered wood floors.
Wooden Floor - Choice of color and texture
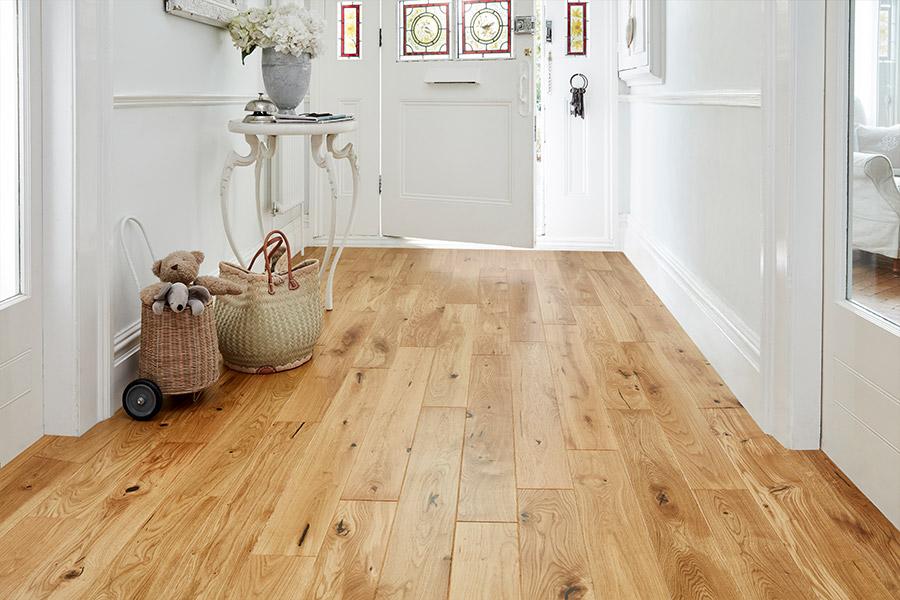
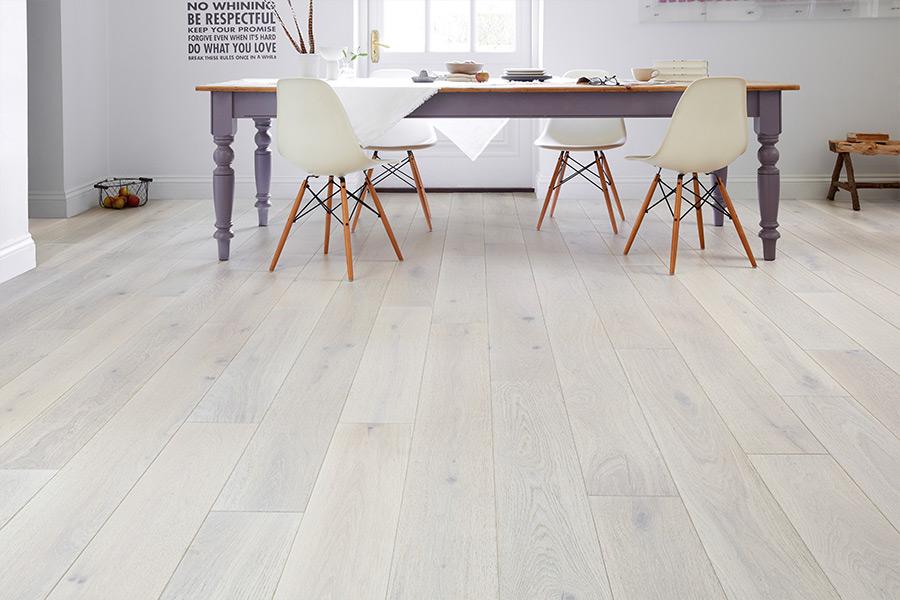
White – the shade can gradually fade from the wood, so you keep the character of the wood, but adjust the tone from normal to virtual white.
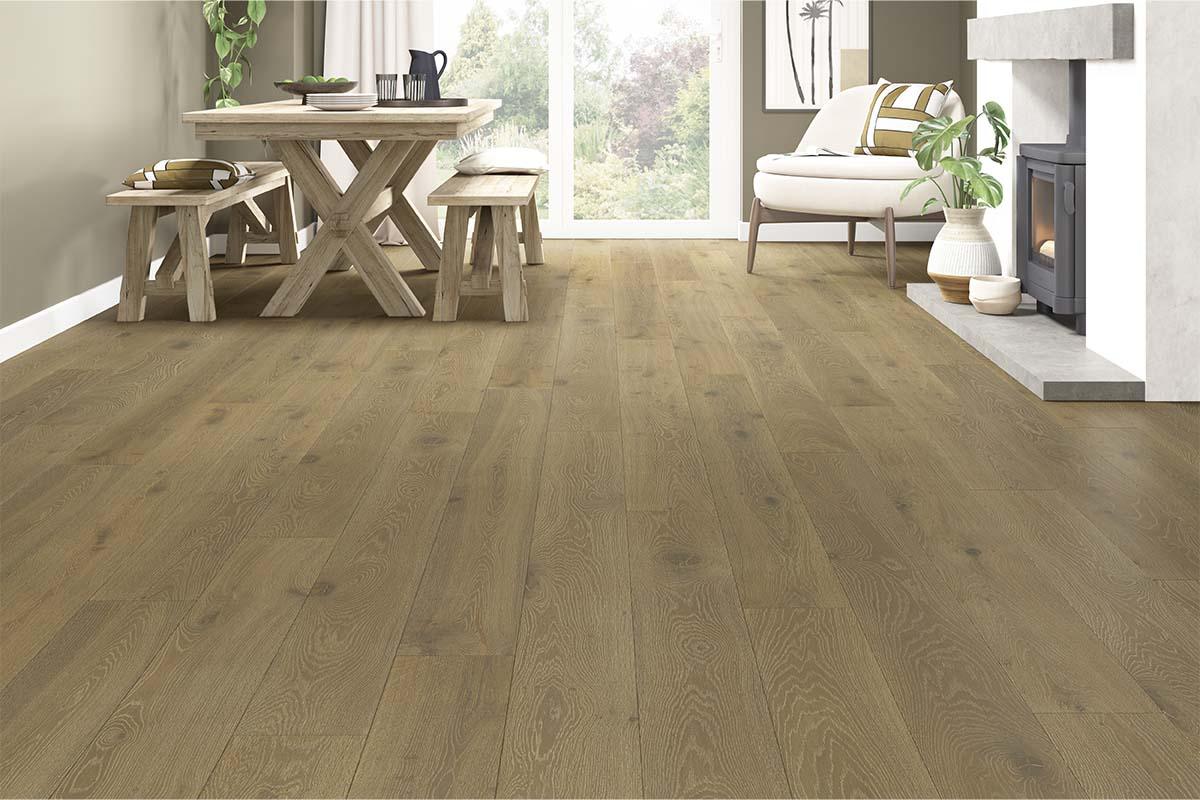
Dull – Turning hardwood from plain to dark or nearly dark is done with a polish or plain oil. Oaks respond best to usage because they are usually neutral, despite the fact that oaks provide an intriguing and attractive tone.
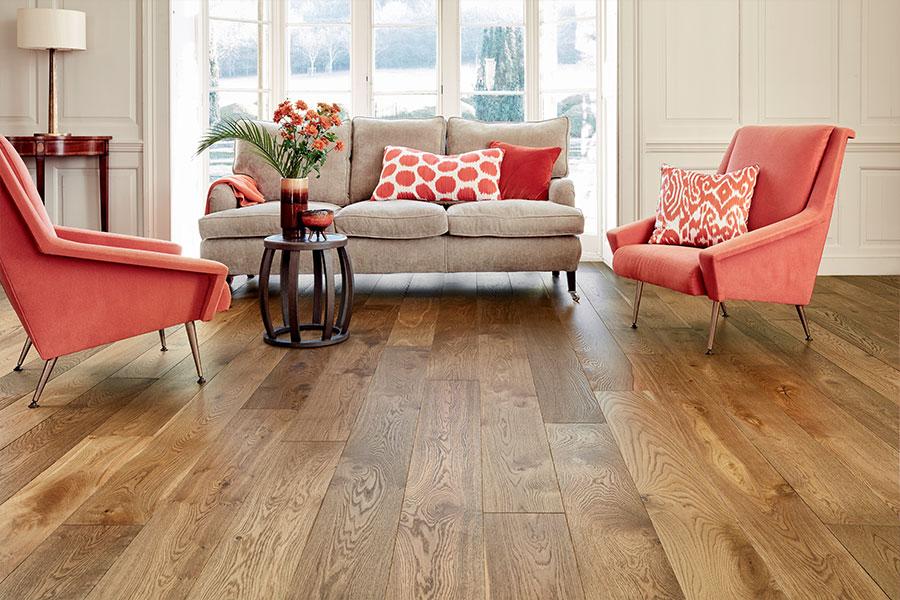
Red – Engineered wood floor shade is amazingly darker/reddish and therefore needs no additional treatment to enhance the shade. Wood is available relatively quickly.
Wooden floor - what is the process and the end result?
Step 1
For the first column, you need the straightest boards with the tongue side towards the center of the room. The spacers are located inside the expansion hole – the space between the spacer and the floor, which takes into account the development of the wood of heat and moisture. Drill nail slots 1/4 inch from the right edge of the board to 1/2 inch from the spacer. Continue 6 inches apart for each length of board.
Step 2
Since it is difficult to move the pneumatic nailer close to the divider, nail the first sheets with face nails. Secure the nails with nail polish and fill the rest of the gap with coordinating putty. At this point, blind.
Step 3
In the second row, lock the tongue and detail and tap them together with a hammer and square to fit tightly between the sheets. Admire the shutters by crawling between the connecting sheets, cutting the end plate if necessary, for a grounded and increasingly attractive deck structure.
Step 4
Nail the second post through the tongue and repeat until you are ready to use the ground nail. The floor nail waits for space to work, so it can only be used regularly on a floor with two to four rows. When using a nail, be sure to place the nail in the safety shoe to ensure that the ground is level.
Step 5
When you get to the last rows, go back to hand nailing. In the front column, cut the pieces to fit, estimate the distance from the hub to the plate – not the tab – and shorten the extension hole.