Introduction
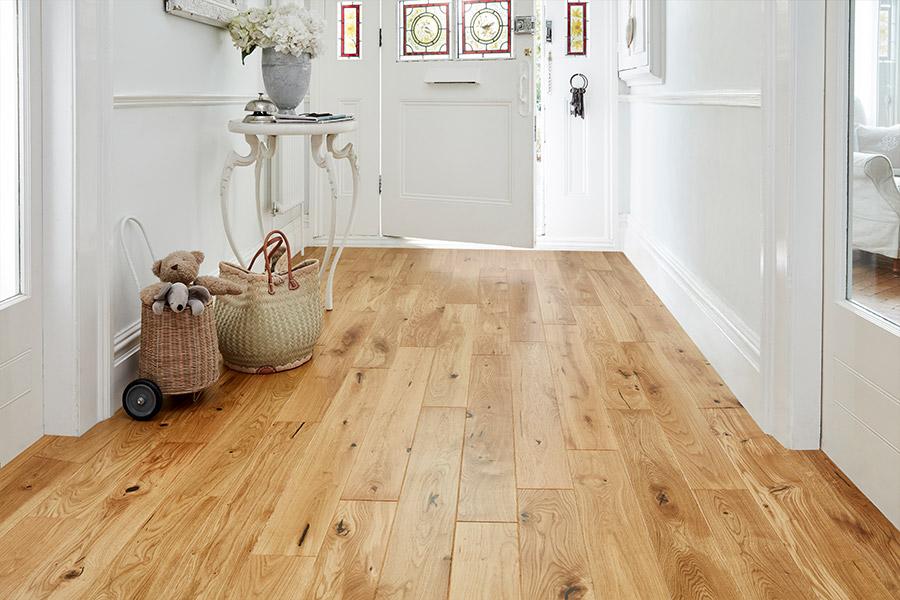
Thanks to strong wood that is even easier to present, fake wood has become a popular decision in some homes. engineered wood flooring, which provides a corresponding attractive feel and an undeniably familiar look, is an incredible decision in any area of the house.
Because it is made in layers, engineered hardwood flooring is very strong and that means it is made in layers. not so inclined. to shrink or bend as strong as a tree appears to be when ecological conditions change. Thanks to this strength, it is conceivable to use snap frames at the joints, so it is optimal for anyone who is looking for a real wooden floor and knows how to show. It is really easy to install thanks to the engineered wooden floor installation guide. In addition, laminate floors or wooden floors are often asked. Also know about it below. In any case, snap-frame floors are really designed to “drift” over the existing subfloor. If you intend to lay your floor directly on the beams, some of the wooden floors designed by Galleria Professional have a common reed for this reason. engineered wood flooring decks along these lines should also be at least 18mm thick to withstand the added pressure.
The engineered wood is cut from regular wood, while the deck uses a photo layer, which is a protective layer applied. In addition, the coating is much thinner than synthetic wood, on average about 12 mm, while synthetic wood is usually thicker than hardwood.
A laminate floor is essentially a rigid synthetic floor, also known as composite, Pergo or composite. floor driftwood board. It is made of several layers of compacted materials.
What about its strength and maintenance costs?
- engineered wood flooring does not expand or warp due to climatic conditions.
- Maintenance costs are low.
- engineered hardwood flooring can be used anywhere. Whether it is above ground, underground or even above ground.
- engineered wood flooring can be applied over any sub-floor, such as ceramic tiles or vinyl floors.
- They must be firmly fixed. to the floor beneath them and it must be spotless and dry.
- There are three different ways to present engineered hardwood flooring. They can be attached, nailed or stapled to the subfloor.
- engineered wood flooring are more affordable than other types of flooring.
- Engineered parquet is much easier to install and has a number of features. handles with messy floors.
- engineered hardwood flooring requires minimal support to keep them clean; Many people want to make this decision in the kitchen as well.
- Constructed wood does not effectively affect climatic conditions. You won’t see your floors warp because they won’t contract or expand due to rough conditions. Also, make sure you know the manufacturers of engineered wood flooring, as this will ensure you’re buying the right type.
Engineered Wood Ideas - What's Best?
Wood is a delicate quality for flooring, but not so much. complicated like the plate below. Renewed steps during the day can cause pain, so limit the impact and the opposite impact on the body with comfortable mats. Carpets placed over wooden floors create spacious spaces and sofas in living rooms and add seating for a large meeting room.
Style options
Wood floors are suitable for a conventional interior, but are still valued as a feature. next to smooth flow components. Keep the show going with modern office solutions, streamlined fixtures and lighting in a space that needs embellishments and embraces clean lines.
Mix Don’t Match
Ignore ideas that require coordinating wood tones. The avant-garde compositional approach deliberately mixes the unwelcoming and rustic landscape with repainted and cleaned spots and grains for a clustered look after some time. A cantilever end table is perfect against raw wood accents or dark washed wood floors.
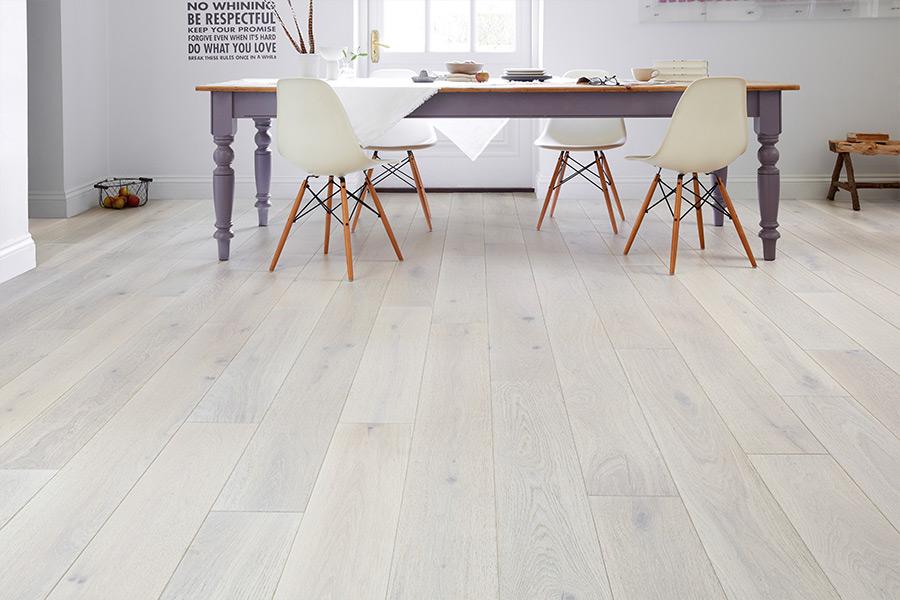
Wood Floor - Choice of Color and Texture
White – The shade can gradually fade from the wood so you can love its character. wood, but adjust the tone from normal to pseudo white.
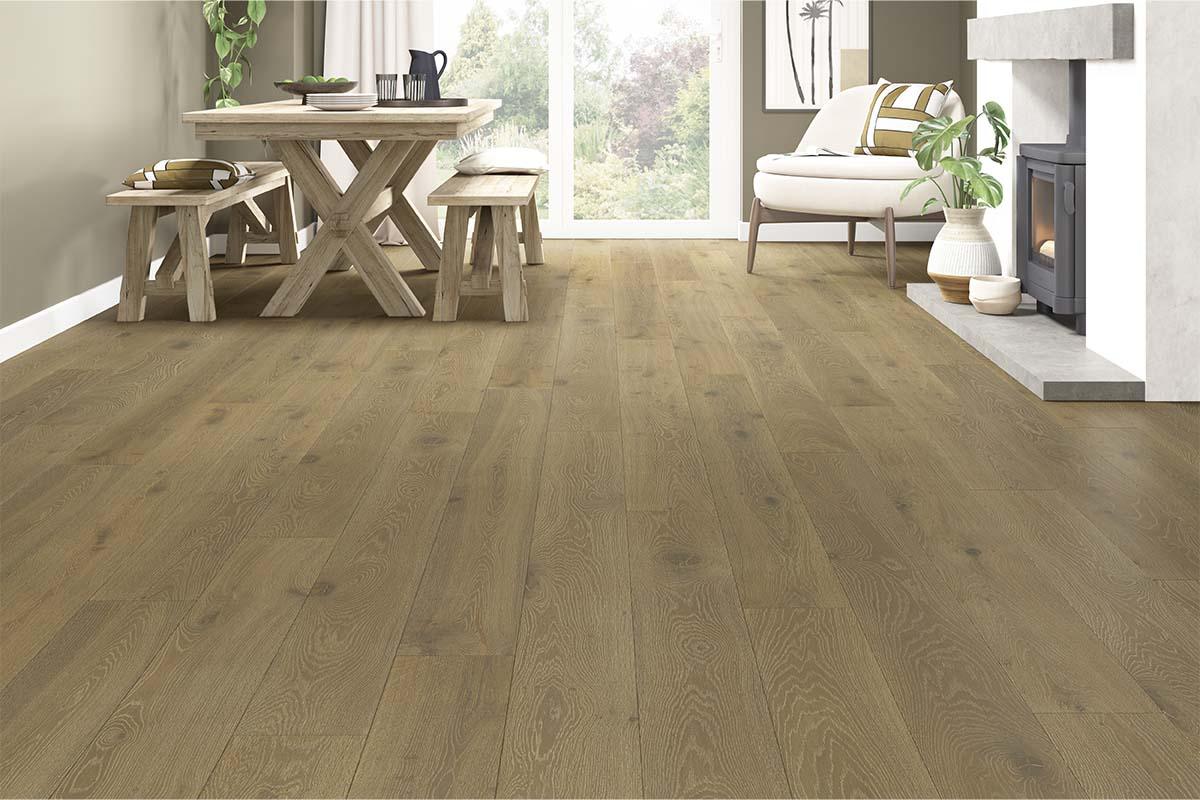
Dim – Changing hardwood from normal shade to dark or near dark is done with polished or normal oil. Oak responds best to treatment because they tend to have a neutral tone, despite the fact that oak gives an interesting and attractive tone.
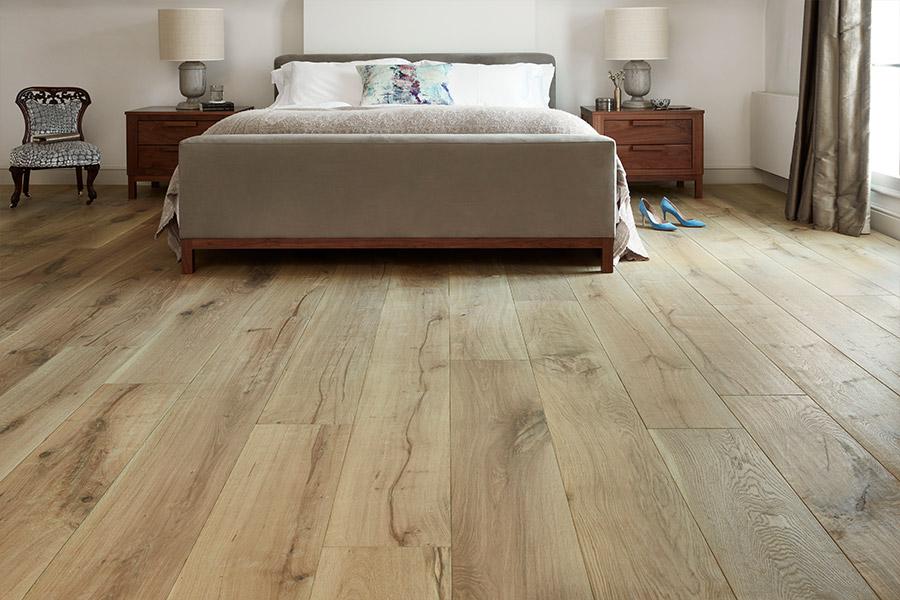
Red – The standard shade of engineered wood flooring flooring is surprisingly darker/reddish, so it does. It does not require special treatments to further refresh the tone. Access to the wood is relatively quick.
The light creates flawless nectarine hardwood and is achieved through a combination of soft bleaching and polishing and oil staining. This step must be done before the wood is installed.
Tinted tiles or squares allow you to collect excellent examples. Shade is controlled by oils that seep into the grain of the wood.
Matte is usually achieved with finishes, oils and waxes before or after installation. Rage Cures will arrive.
Darkness and dark shades depend on glitter. This procedure involves a raging fireplace where heat or smelling salts are applied to the wood after the boiler is installed. The strength of the darkness is determined by the duration of the procedure – from a few hours to a few days.
Wooden floor - What is the procedure and results?

Stage 1
Information first column, you need the straightest boards built with the tongue side being the center of the space in front. Spacers are located inside the extension hole – between the distance and the floor, which takes into account the development of wood from heat and moisture. Drill nail slots 1/4 inch from the right edge of the board to 1/2 inch from the spacer. Continue 6 inches apart for each board length.
Stage 2
Since it is difficult to move the air nail close to the separator, nail the first sheets face to face. Fasten the lattice work with nails and fill the rest of the opening in coordination.
Stage 3
In the second row, lock the tongue and part and tap them together with a hammer and square to fit tightly between the sheets. Stun the six pins between the connecting sheets, cut the end plate if necessary to get an earthy and increasingly attractive deck structure.
Stage 4
Nail the second post through the tongue and repeat the procedure. until you are ready to use the ground nail. The floor nail waits for space to work, so it can only be used regularly when you run two to four rows on the floor. When using the nail, be sure to wear the safety shoe of the nail to secure the ground.
Stage 5
When you get to the last lines, go back to manual nailing. In the front column, cut the pieces to fit, judging by the distance from the hub to the board (not the tongue) and shorten the extension hole.
If the last piece is 1 inch wide or less, apply a small amount of wood putty to the tongue and groove, and complete the piece with scrap metal to secure the grooving rod and spacer. Anything else, nail the last section down and fill the hole with a coordinating caulk.
Stage 6
Insert the progress sections according to the manufacturer’s instructions and remove the gaps. Cut the sub board and reassemble the baseboards and folding boards to the hub, not the floor.